If you work with a desktop or laptop computer on a regular basis, you know how nice it can be to have an app designed for that lean-back experience. Gliph offers a fantastic Desktop Web experience when you visit the app from a tablet or desktop web browser: https://gli.ph/d
This full-screen experience gives you access to Gliph’s existing features, such as permanent message deletion, Bitcoin payments, and our award-winning privacy point tools. The Desktop Web App also includes support for new bells and whistles including Secure Group Messaging, Profile Photos, Retina Display support, and Chrome Desktop Notifications.
This guide walks through how to use the Desktop Web App.
- The Desktop Web Home View
- Adding New Connections
- Working with Connection Settings and Shared Facets
- Creating and Administering a Secure Group Conversation
- Using Bitcoin on Gliph’s Desktop Web App
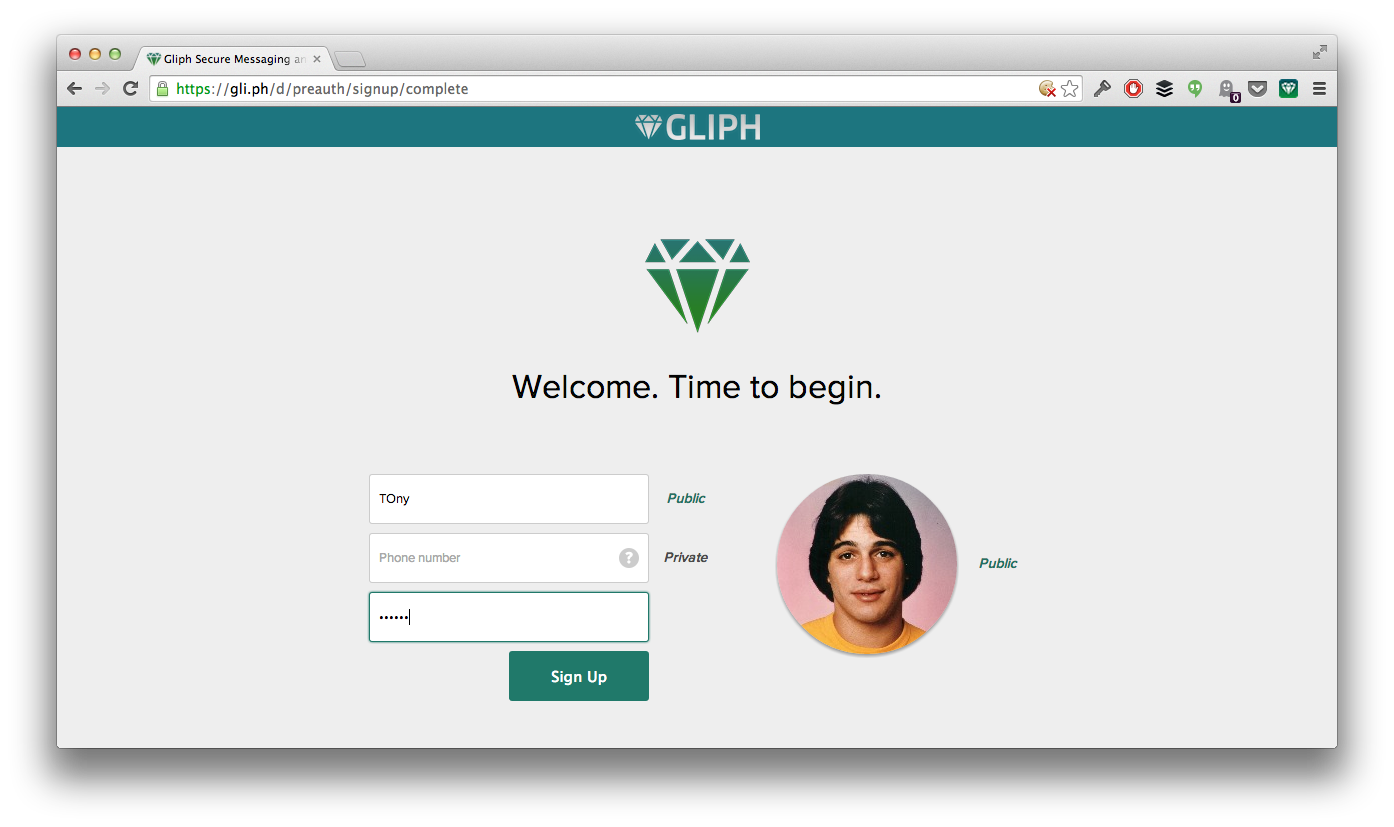
Sign-up and Set Initial Facets
If you’re signing up for Gliph for the first time, you’ll see you can now set a Profile Photo. This is a new Facet type and may be set to globally public or private. (If private, you may still choose to share it with specific contacts or groups you belong to.)
The Desktop Web Home View
Once you’re signed in, the first view you’ll see is the one below. We call this the Home View. On the left side in dark grey is the Left Sidebar. This can be opened and closed using the Gliph Diamond Button in the top left.
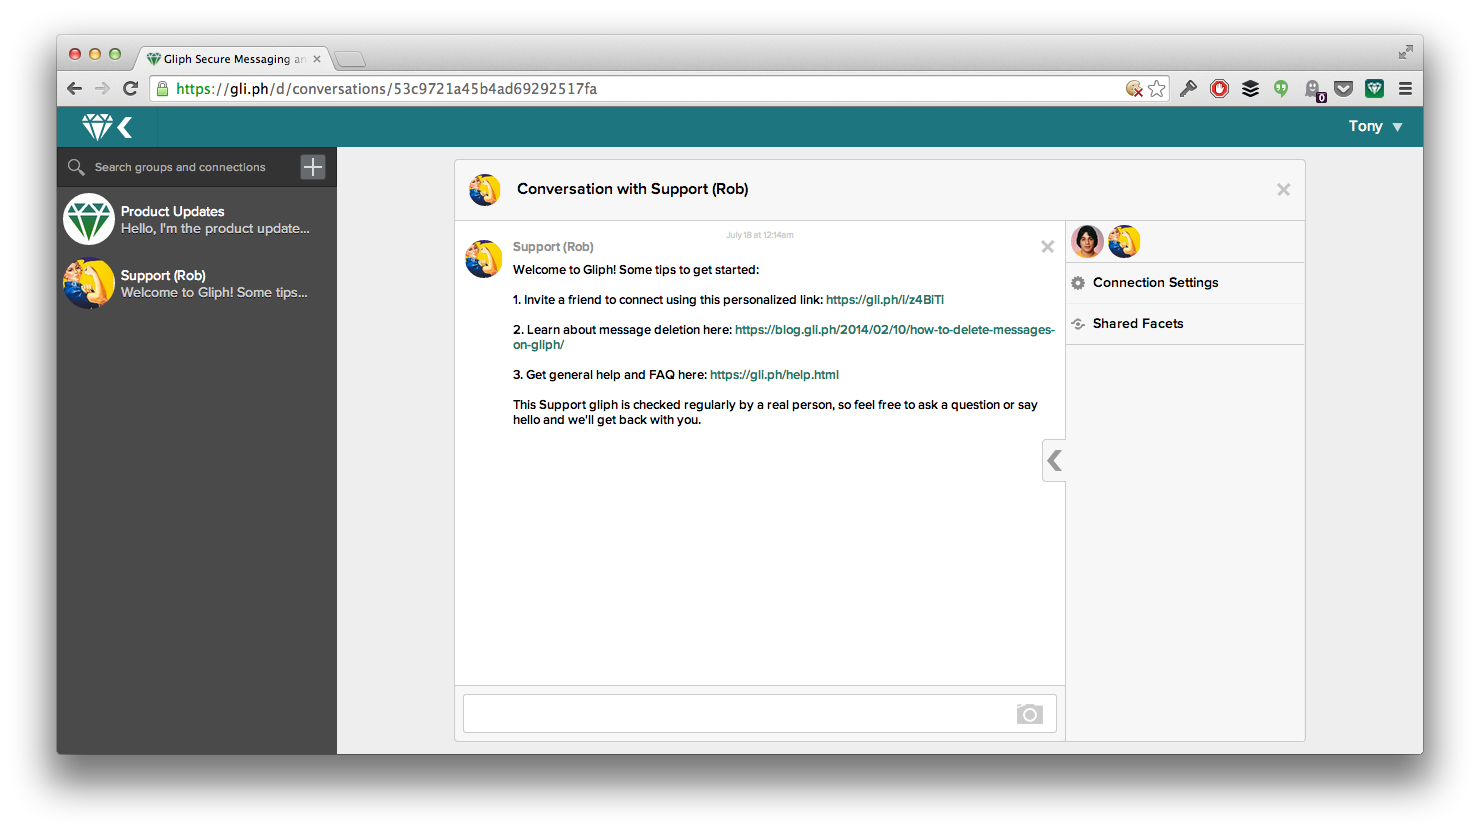
The Home View is the default view when signing into Gliph for the Desktop Web
In this example, you can see the first conversations in the Left Sidebar are the official Support and Product Updates gliphs. The Left Sidebar lists conversations in the order of last message received. This is the same order as the Activity View on Gliph’s mobile apps.
In the Home View, the most recent conversation is automatically loaded into the center of the view as a Conversation Pane. More on that in a bit.
 Connecting with a new person or someone you care about has always been one of the best parts about Gliph.
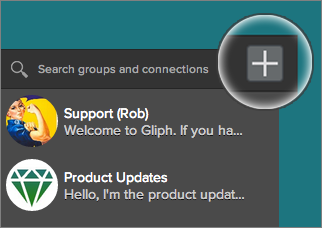
The Desktop Web app lets you do this using a new Add Connection or Group [+] Button that appears at the top right of the Left Sidebar.
You’ll be presented with a dialog box that lets you choose to either Create a Group or Add a Connection.

Add a Connection or Create a Group with this dialog. You can also copy-paste an invitation URL to connect with someone who is not on Gliph yet.
When you choose Add a Connection, you’ll be presented the option to find an existing Gliph user (using Gliph’s symbol-based username system) or invite someone from Facebook, Google+, or traditional vectors.
When you send your first message, it establishes the connection. Check out Conversation Pane below where Tony has added his pal Rob as a connection.
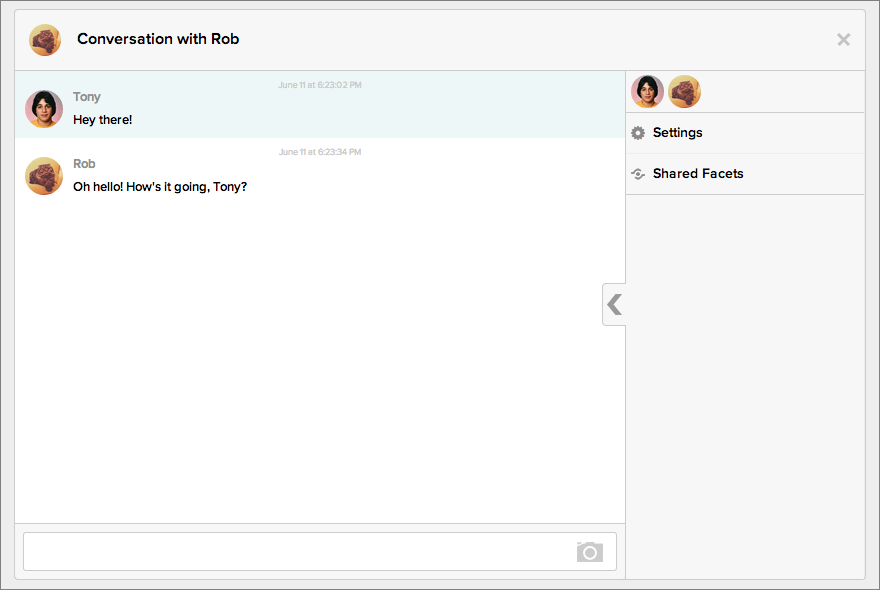
The Conversation Pane shows your 1-on-1 or group conversation. The Right Sidebar lets you set privacy permissions and notification settings for the connection or group.
The camera icon shows you can attach an image to any message you send here. You can also drag-and-drop an image into this area to attach it to your pending message automatically. If you and your connection have Bitcoin wallets attached, you’ll also see a Bitcoin icon. More on that in “Using Bitcoin on Gliph’s Desktop Web App.”
Working with Connection Settings and Shared Facets
Each Conversation Pane has a Right Sidebar that may be hidden using the Chevron Button. The Right Sidebar shows who is in the conversation, lets you edit the Connection Settings, and specify what personal information (Facets) you want to share.
The Connection Settings Dialog is found in the Right Sidebar of any Conversation Pane.
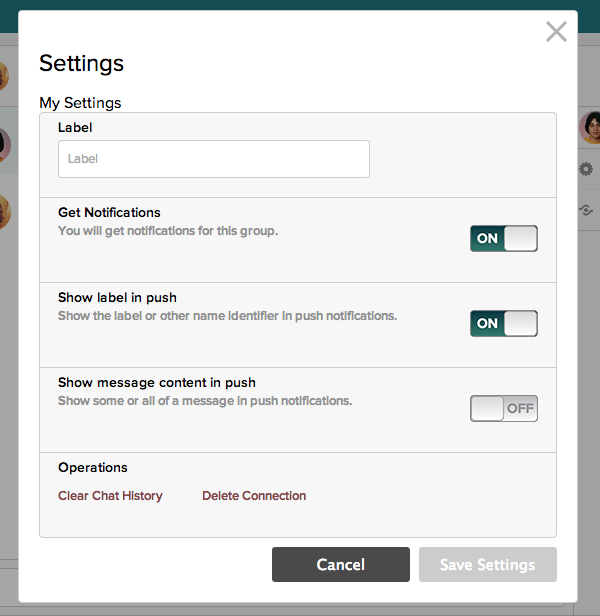
Click or tap Settings to see a dialog containing the same Connection Settings you get in Gliph’s mobile applications: The Label setting is an important feature if the person you’re connected to has their First Name and Pseudonym set to Private and has not shared either piece of information with you.
When this happens, you see their Gliph instead of their name. Gliph’s can be hard to identify quickly, so a Label is a useful alternative to seeing someone’s Gliph.
Other options in this view include choosing whether to get Push Notifications from a particular person and how much information should be shown in Push Notifications that appear on your mobile device.
You can permanently delete all messages on both sides of the conversation using the Clear Chat History option or delete the connection and all messages completely under Operations. For more information on how Gliph handles message deletion, please see this blog post.
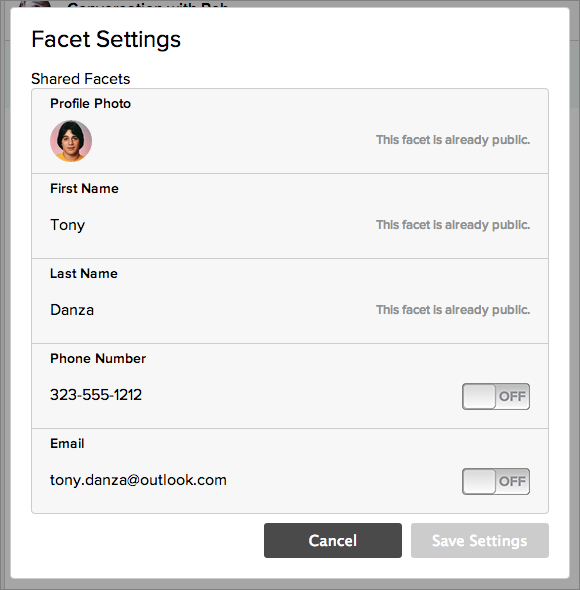
The Facets Settings Dialog is also found in the Right Sidebar of any Conversation Pane. It sets what you’re sharing with the person or group in the Conversation Pane.
Facet Settings contains all of the personal information you’re sharing with this particular connection or group of people. In the above example, Tony has his Profile Photo, First Name, and Last Name set to public at a global level. Tony’s Phone Number and Email address are globally Private, and he has not chosen to share them with this connection.
If someone says they can’t see your name, double check the Facet Settings for your connection with them to make sure you either have a First Name or Pseudonym set to globally public or shared with that person.
Creating and Administering a Secure Group Conversation
The process for creating a secure Group Conversation on Gliph starts the same way as you would add a new Connection. Click the + button then choose Create a Group.
You’ll be presented a dialog box that allows you to choose among some common group types or specify your own custom group name.

Gliph supplies some default group types you might want to create, but you name your group anything you like.
The next step is to add members to your group. If you already have connections on Gliph, they’ll be shown and you can simply click each one to add them.
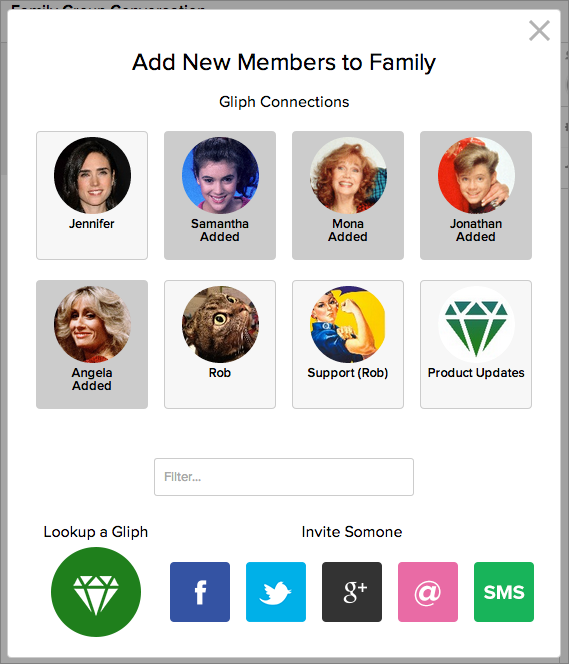
Once you’ve added some Group members, you’ll see in the chat area who has been added. Also, each person you add will get a notification that they have been added to the group so they can join the conversation right away.
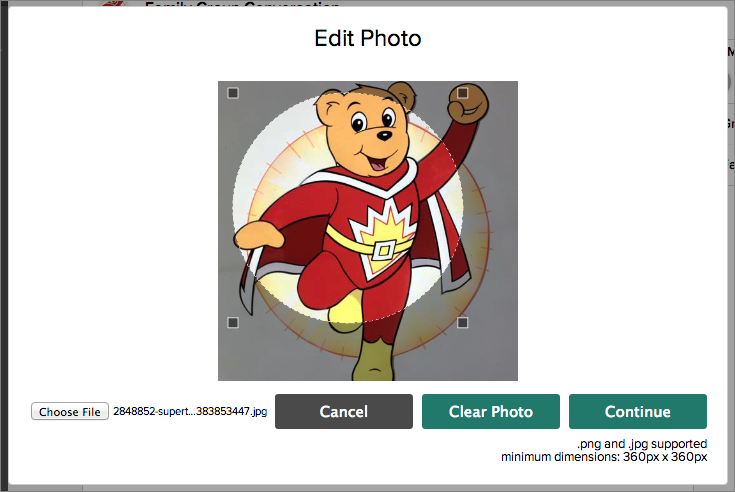
Setting Your Group Photo
Everything is more fun with pictures, so you may want to set a photo for your Group. You can add this in the Group Settings dialog which can be accessed using the Right Sidebar of the group conversation pane.
Click Edit Photo and choose a .png or .jpg image of at least 360 x 360 pixels, and then crop it to an attractive shape.
While we’re here, let’s check out some Group Settings.
Managing Your Group
Gliph currently allows one group administrator, which is the person who creates the group. As group admin, you have some handy options to keep your group just how you like it. You can:
- Change the Group Photo – Shown above
- Set Group to Open or Closed – An open group has an invitation link that all members can share to add people who are not on Gliph to the group. In a closed group, only the admin may invite new members.
- Manage Membership – You can remove or “kick out” specific members from of the group.
- Clear Chat History or End the Group – As an admin, you can permanently delete the conversation history on all sides of the conversation. (Read more about data impermanence on Gliph)
There are also some Notification Options in the Group Settings that affect privacy and are available to all group members:
- Get Notifications – Choose whether to get notifications from this group.
- Show Group Name in Push – If turned off, your mobile notifications will not include the name of the group.
- Show Message Content in Push – If turned off, your mobile notifications will not include any part of the messages sent from other group members.
Using Bitcoin on Gliph’s Desktop Web App
 The Gliph Desktop Web App lets you attach a Bitcoin wallet from an account you already have created on either Coinbase or Blockchain.info. Once you’ve attached a wallet, you can send Bitcoin to any other Gliph user who also has Bitcoin wallet attached to their Gliph account.
You can also attach a Bitcoin wallet using the Gliph iPhone and Android apps; however, you might feel more comfortable doing it on the Desktop Web.
Once you’ve attached your Bitcoin wallet using the Desktop Web app, the wallet will also be set up in the mobile app for iPhone or Android (though, you may need to restart the mobile app to see the wallet was attached properly).
Attaching Your Bitcoin Wallet to Gliph
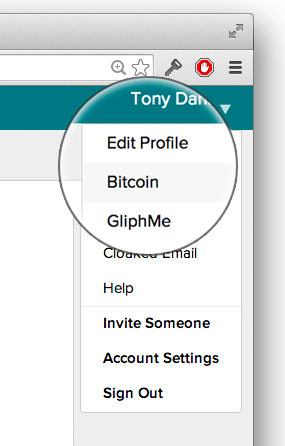
Start by choosing the Bitcoin option from the Dropdown Menu in the top-right of the Desktop Web App. If you do not have a Bitcoin wallet attached, you will see an option to Create a New Wallet or Sign-In to an existing wallet.
But, I don’t have a Bitcoin Wallet!
If you have never created a Bitcoin wallet before, you need to do so before you can attach it to Gliph. Gliph can attach a wallet from either of the two most popular web-based wallets on the Internet: Coinbase or Blockchain.info.
The Desktop Web App will help direct you to these services; however, after you have created a Wallet, you will need to come back to Gliph and go through the Wallet Sign-In process on your own.
Attach a Coinbase Bitcoin Wallet
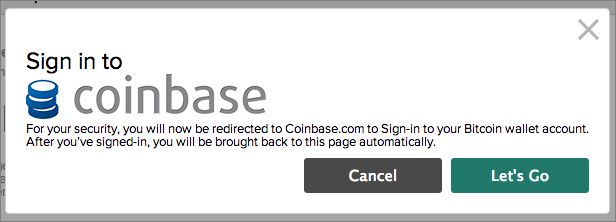
In the Bitcoin view, choose Sign-In to Coinbase. You will be presented with the following dialog box, which lets you know that you must be redirected to Coinbase’s site. Click the Let’s Go button to continue.
The Coinbase website will prompt you for your Coinbase login information. Note, if you have two-factor authentication on, the website will also ask for that information: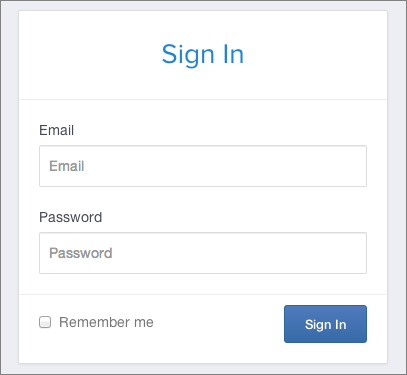
When you have finished this step, you will be asked to Authorize the Gliph App to have access to your Account in the following dialog box:
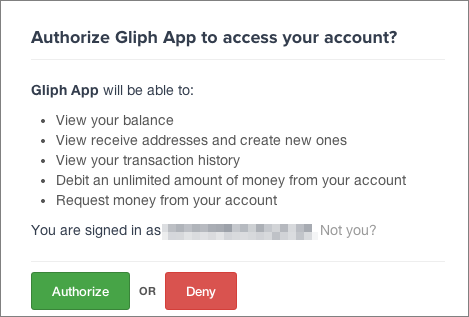
Note the access grants Gliph the ability to debit Bitcoin from your wallet. As a result, you should be sure to choose a unique passphrase (aka password) for your Gliph account and take care not to misplace it.
Attach a Blockchain.info Wallet
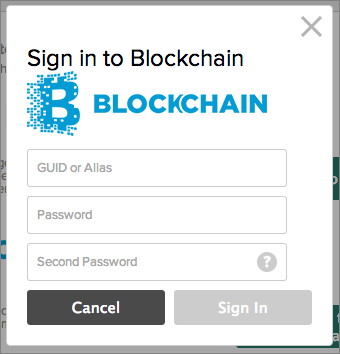 In the Bitcoin view, choose Sign-In to Blockchain. You will be presented with the following dialog box, which lets you immediately attach your Blockchain wallet.
Note, while you may enter your Alias in the first box, Blockchain will still force you to retrieve your GUID from an email they send you. (A GUID, aka “wallet identifier,” looks something like: b868xx32-0272-as8e-e169-6cdwa3f3e24)
Once this form is filled out correctly, and you’ve completed the necessary authorizations Blockchain requires, your wallet will be attached to your Gliph account.
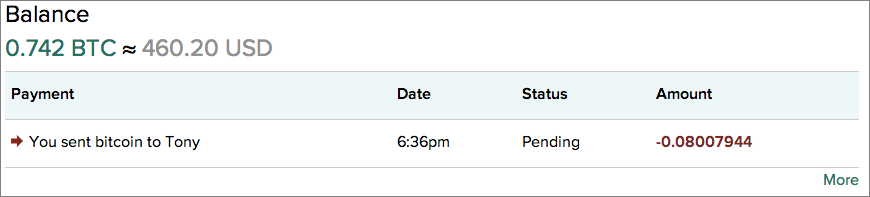
Viewing Your Bitcoin Balance and Transaction History
Once your wallet is attached, you can view your past list of transactions processed using Gliph by visiting the Bitcoin Start option from the Dropdown Menu in the top-right of the Desktop Web App.
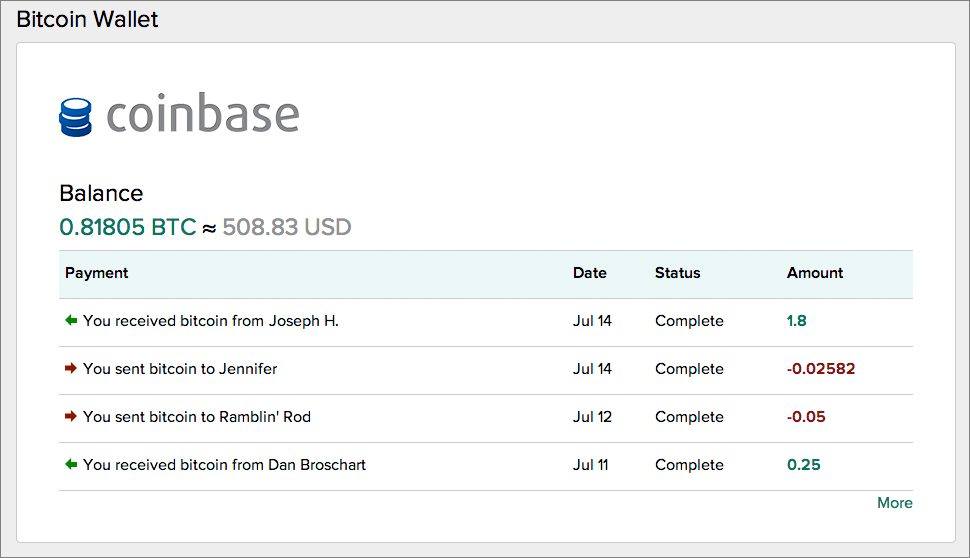
The list of transactions reflects all transactions processed using Gliph since the wallet was first attached. For some of your transactions, you will see someone’s gliph or symbol-based username instead of their actual name. You must ask them to share a First Name publicly or with you to see them here.
All Bitcoin transactions processed using Gliph’s mobile apps will be shown in this view. If you use the QR code scanner on either the Gliph iPhone or Android app to pay someone, the recipient will be shown as “Unknown.”
Sending Bitcoin to another Gliph User
Sending Bitcoin to another Gliph user is easy to do, so long as both of you have Bitcoin wallets attached to your account. First choose a conversation from the Left Sidebar, look for the Bitcoin logo in the message entry area to indicate you both have wallets attached properly.
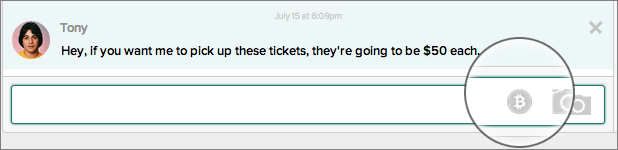
When both you and the other Gliph user have wallets attached, you’ll both see a Bitcoin icon indicating you can send Bitcoin as an attachment to a message.
Click the Bitcoin icon and enter the amount of Bitcoin or USD that you would like to send.The USD to Bitcoin conversion rate is approximate and is currently sourced from Blockchain.info’s price ticker.
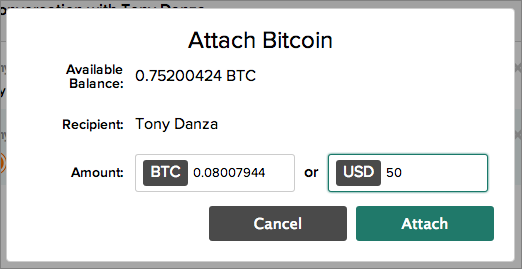
Click the Attach button, type a message and hit enter to send the message with the Bitcoin attached. You’ll see the Bitcoin sent in your conversation.

You can now return to the Bitcoin view and see your transaction listed. Note that the status is pending until Gliph has verified the Bitcoin blockchain has fully confirmed the transaction. It typically takes about one hour for a Bitcoin transaction to reach confirmed status.
Detaching your Bitcoin Wallet
If you would like to remove your Bitcoin wallet from Gliph, you can use the Detach wallet option. You’ll need to access Settings in the Dropdown Menu on the top right of the Desktop Web Application.
Conclusion
The Gliph Desktop Web Application is an entirely new way to experience using Gliph. If you use a computer during the day, it gives you new freedom to keep your conversations going without having to peck them into your smartphone.
If you need help or see a way this guide could be improved, please send a message to the Support Gliph.